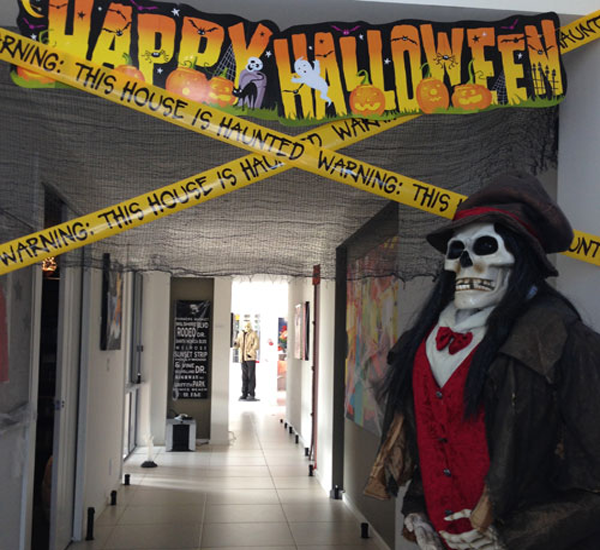
This is Halloween everybody make a scene
This is Halloween, this is Halloween, everybody make a scene! Yes the Halloween season has been and gone for another year and so have more Halloween props and prop making. Living in Australia and loving Halloween is a double edged blade, there is always some twat waiting to say “We live in Australia! Halloween is American”. Well to those people I say, you have no soul and if my having fun on Halloween offends you, I’d say that says a lot more about you than it does about Aussies who love creativity, fun and partying with friends.
Halloween is actually more Scottish / Celtic than American, at least in its roots, not that it needs justifying, but it irks me when people say it’s American. Having said that, no one does the modern Halloween season like my American friends, they take to it with gusto and Il applaud and love that. The creativity shown amazes me each and every year and I love being a part of it in sunny Qld, Australia.
This year – as always – my family hosted our annual Halloween party and needless to say I made a few props for the occasion. I thought I’d share this years Halloween props with you, along with a few hints and tips for making your own Halloween props on a budget (as I did last year).
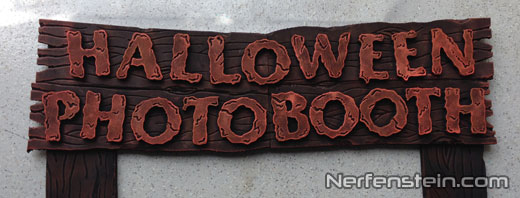
The DIY Halloween Photo Booth…
We really wanted a Halloween Photo Booth at our get together this year, but paying $1200+ to rent one on the Gold Coast for a couple of hours seemed a bit expensive, so I set to doing a budget version and it worked great! Here’s how you can make a DIY Photo Booth for your next party. Find a space for the booth, using an existing small room works perfectly as it saves you creating PVC pipe walls.
We used our laundry, covered the counters with bloody tablecloths (thus covering the appliances) and I made a foam faux wood surround for the door, including a Halloween Photo Booth sign. You could do this in card, or anything you have handy. For the camera I used my MacBook Air and the Photo Booth App that comes as standard on Mac. Set the height, print off a ‘How To Use’ sheet for non Mac owners (literally a button press!) and the DIY Halloween Photo Booth is complete. If you don’t have a Mac laptop fear not, use a webcam, even an old camera phone or camera with timer.
Halloween Prop Box! Despite everyone coming in AMAZING costumes, we included prop boxes in the booth, they were filled with silly glasses, mustaches, masks, hats, weapons and various other things. People loved them and made good use of these as well as taking photos without them.
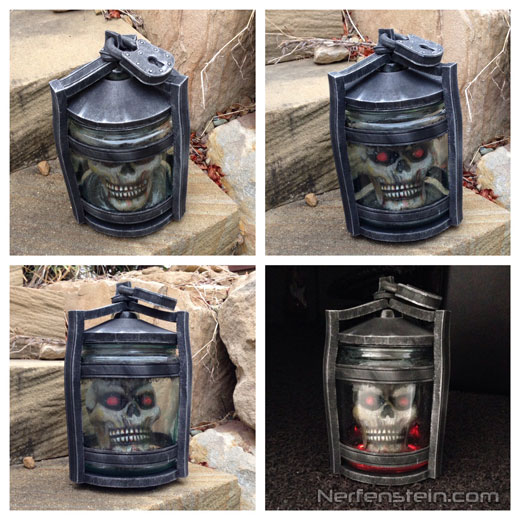
Sleepy Hollow Headless Horseman prop how to…
What you need.. a large glass jar, some EVA foam (or card) and a plastic skull that fits snuggly inside the glass jar. You can get as creative as you want with this one, I used a tiny bit of green dye in some watered down pva glue and lightly coated the inside of the jar so it looked like the skull was submerged in some sort of rancid goop.
The metal struts and lock on this are all made of EVA foam, as you can see the struts are straight so they’re simple, the lock less so, but still not hugely difficult. I also added a light to mine in the base, but without it it’s cool too. I airbrushed the plastic headless horseman skull and used stone paint to give it this cool crackled bone appearance.
This headless horseman skull in a jar turned out to be a cheap prop at around $15-$20 (the jar was $10) it looked cool on display and will keep for future events.
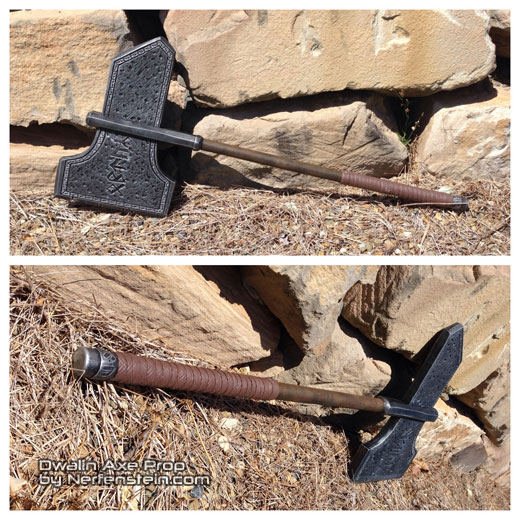
Dwarven Axe, Belt Buckle and Pauldron…
If you follow me on Facebook you will know my lovely son-in-law needed a few things for his Tolkien Dwarf costume. I made all of these out of EVA foam (and PVC pipe for the axe handle). I was blown away by his costume, he looked amazing.
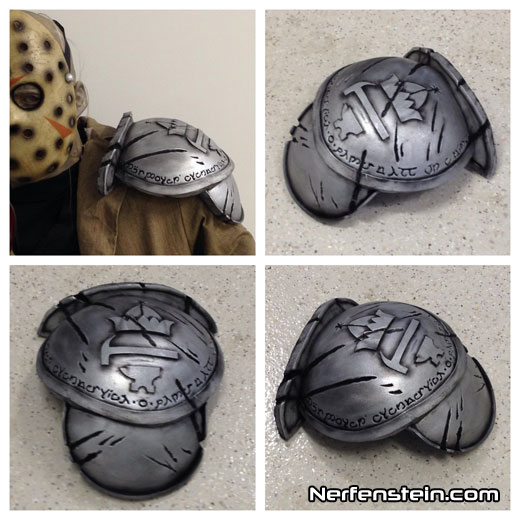
This costume shows you how awesome you can look by tweaking other things to fit what you need. My daughter looked for a ‘dwarf beard’ and had no luck, then she found a ‘pirate beard’. She bought that and platted it… epic! I say these words often, but: Use what you’ve got!
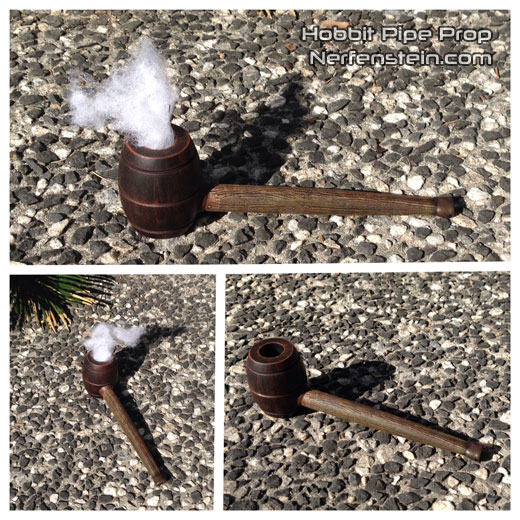
Hobbit Pipe prop
I made this little pipe prop after being unhappy with the plastic pipe prop I bought. I wanted the pipe to look kind of chunky and as luck would have it I found a lathed wooden barrel type thing in an op shop, I bought it for $1. Drilled out the side, glued in a piece of dowel that I’d sanded down thinner at one end. Used some Apoxie Sculpt for the mouth piece and used the latex paint woodgrain technique on the dowel. Painted it and Hobbit pipe prop done! Much better than the tiny plastic prop that cost me $5.
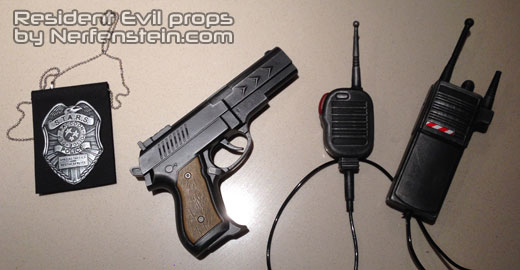
Resident Evil gun and badge
Don’t worry I’m not taking this gun outside anywhere, this was purely as a costume prop at the party, a fully weighted pistol for a Resident Evil soldier costume. It also sported one of my Racoon City badges, a Racoon City Knife and a toy walkie talkie toy I’d painted up to look a little more realistic.
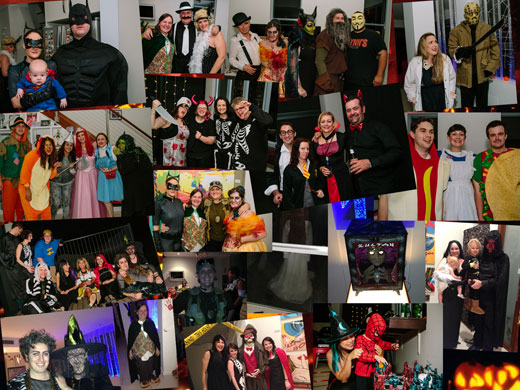
Halloween 2013 was epic fun, the prop making and more importantly the creativity of family and friends. This year saw so many fantastic costumes, I can’t wait for our 2014 Halloween party.
That’s all lovely people, now go do good things… preferably in costume ;p
Till next time people… what do we say?! ….
DO GOOD THINGS!
———==oOo==———
Originally written for GirlyGamer.com.au home blog of Nerfenstein / GirlyGamer / BoardGameGran. Catch up with me on my Facebook page, or if you Tweet… there’s always Twitter and guess what, I actually reply!
I work for a photobooth company and I find your alternative idea pretty cool. You can also buy tent like structures if you don’t have a room ready like you have used in this example.
Nice post though so thought I would take time to respond.